First Commit: How I coded a website in my browser with Replit, and hosted it on Github
I’ve created a website. For what purpose you might ask?
I’m still figuring that out, for now I thought I’d document the process in a post so at least I have some content to develop around, and refer back to in case I need to do it again.
I’ve recently been developing in Replit, a browser based IDE. You heard me right, I developed this website completely in a browser tab. I didn’t install anything on my computer and I’m not paying for any hosting. Everything is being hosted by Github Pages and developed in Replit.
If you want to develop your own Website, merely fork my Repl and edit the template! That’s all you need to do.
If you want to learn a bit about Replit, Repls and developing Github pages and know how I configured this Repl that specific Repl to be a template for develop websites with Github Pages and Replit then read on!
This tutorial assumes you have both a Github and Replit account. If you’re starting from nothing, I recommend making Github first. Then you can Sign Up to Replit using that account– which will automatically link the two. I’m also going to assume you know, are familiar with or at least aren’t afraid of basic coding workflows and principles.
Step One: Creating a Replit Repl and Matching Github Repo
It doesn’t really matter the order you create things in, if you create the Repl first Replit gives you the option to create a matching Repo on Github to store your files and code, and ultimately host your Github Pages site. If you create the repo first on Github, it’s dead simple to link an existing Repl to a Github Repository.
I’m going to start by creating a Blank Repl. On Replit.com go ahead and click create a Repl.
If you wish to host your site on Github Pages, you’ll need to name the repo <your_username>.github.io. This gives you the hosting domain of <your_username>.github.io Meaning that’s the URL that people will go to to visit your website. Any and all Repl’s get a <repl_name>.<user_name>.repl.co domain free as well. Note you MUST use your Github username in the URL, there’s no way around this. You can of course purchase a different domain… but that’s beyond the focus of this tutorial.
I suggest you adopt a workflow where your <your_username>.Github.io is your main published site, and your <repl_name>.<user_name>.repl.co is where you branch out and do your development and testing. Your changes to repl.co are instant, and it is easy to see them in the Webview in the Replit IDE.
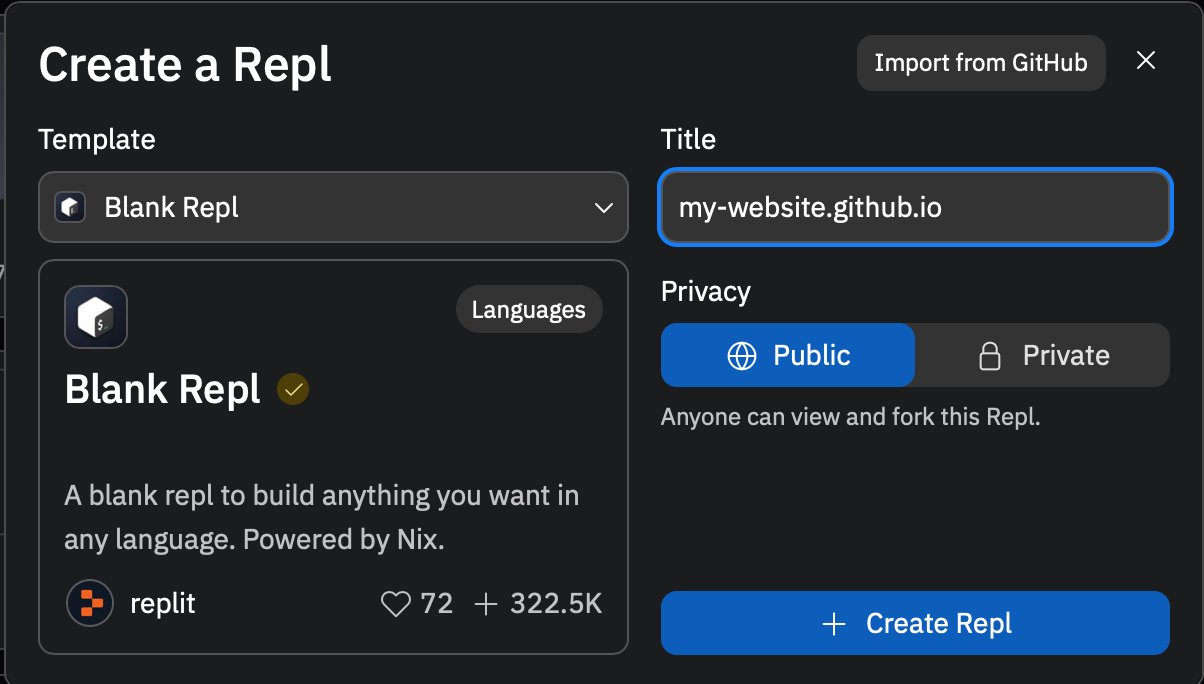
If you created a Github Repo first, you can import it into your Repl. Otherwise start from a Blank Repl.
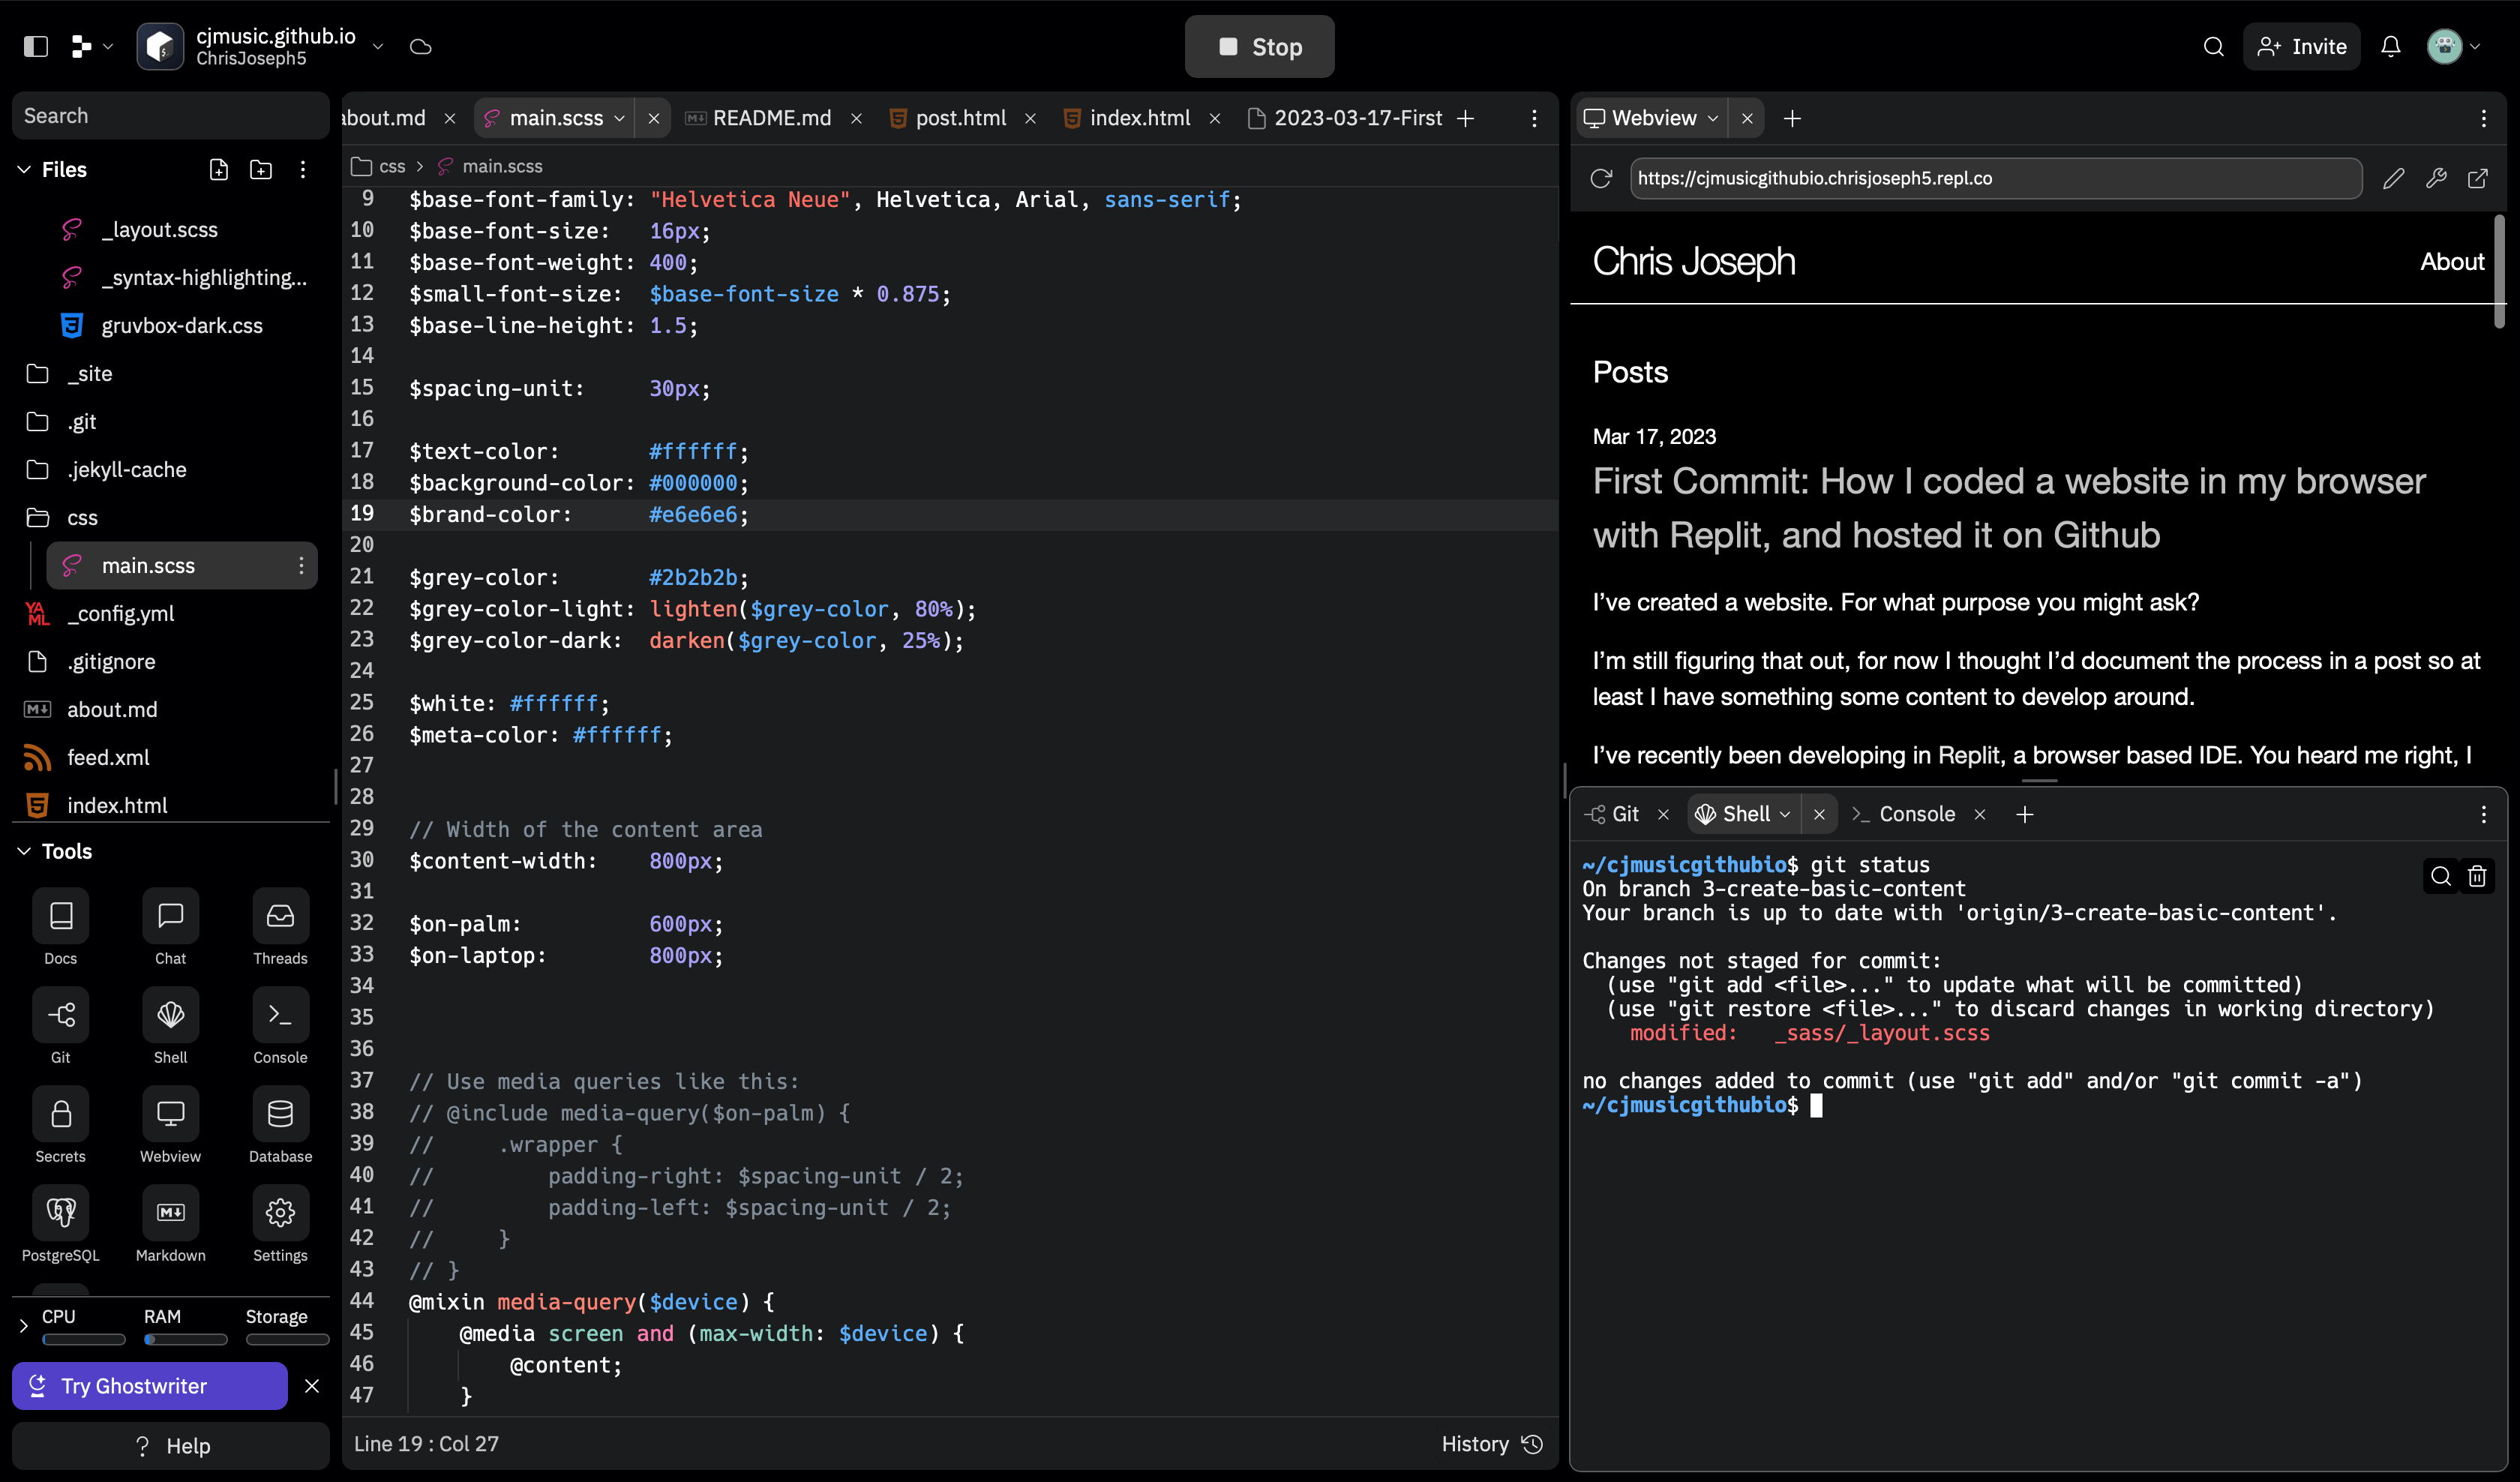
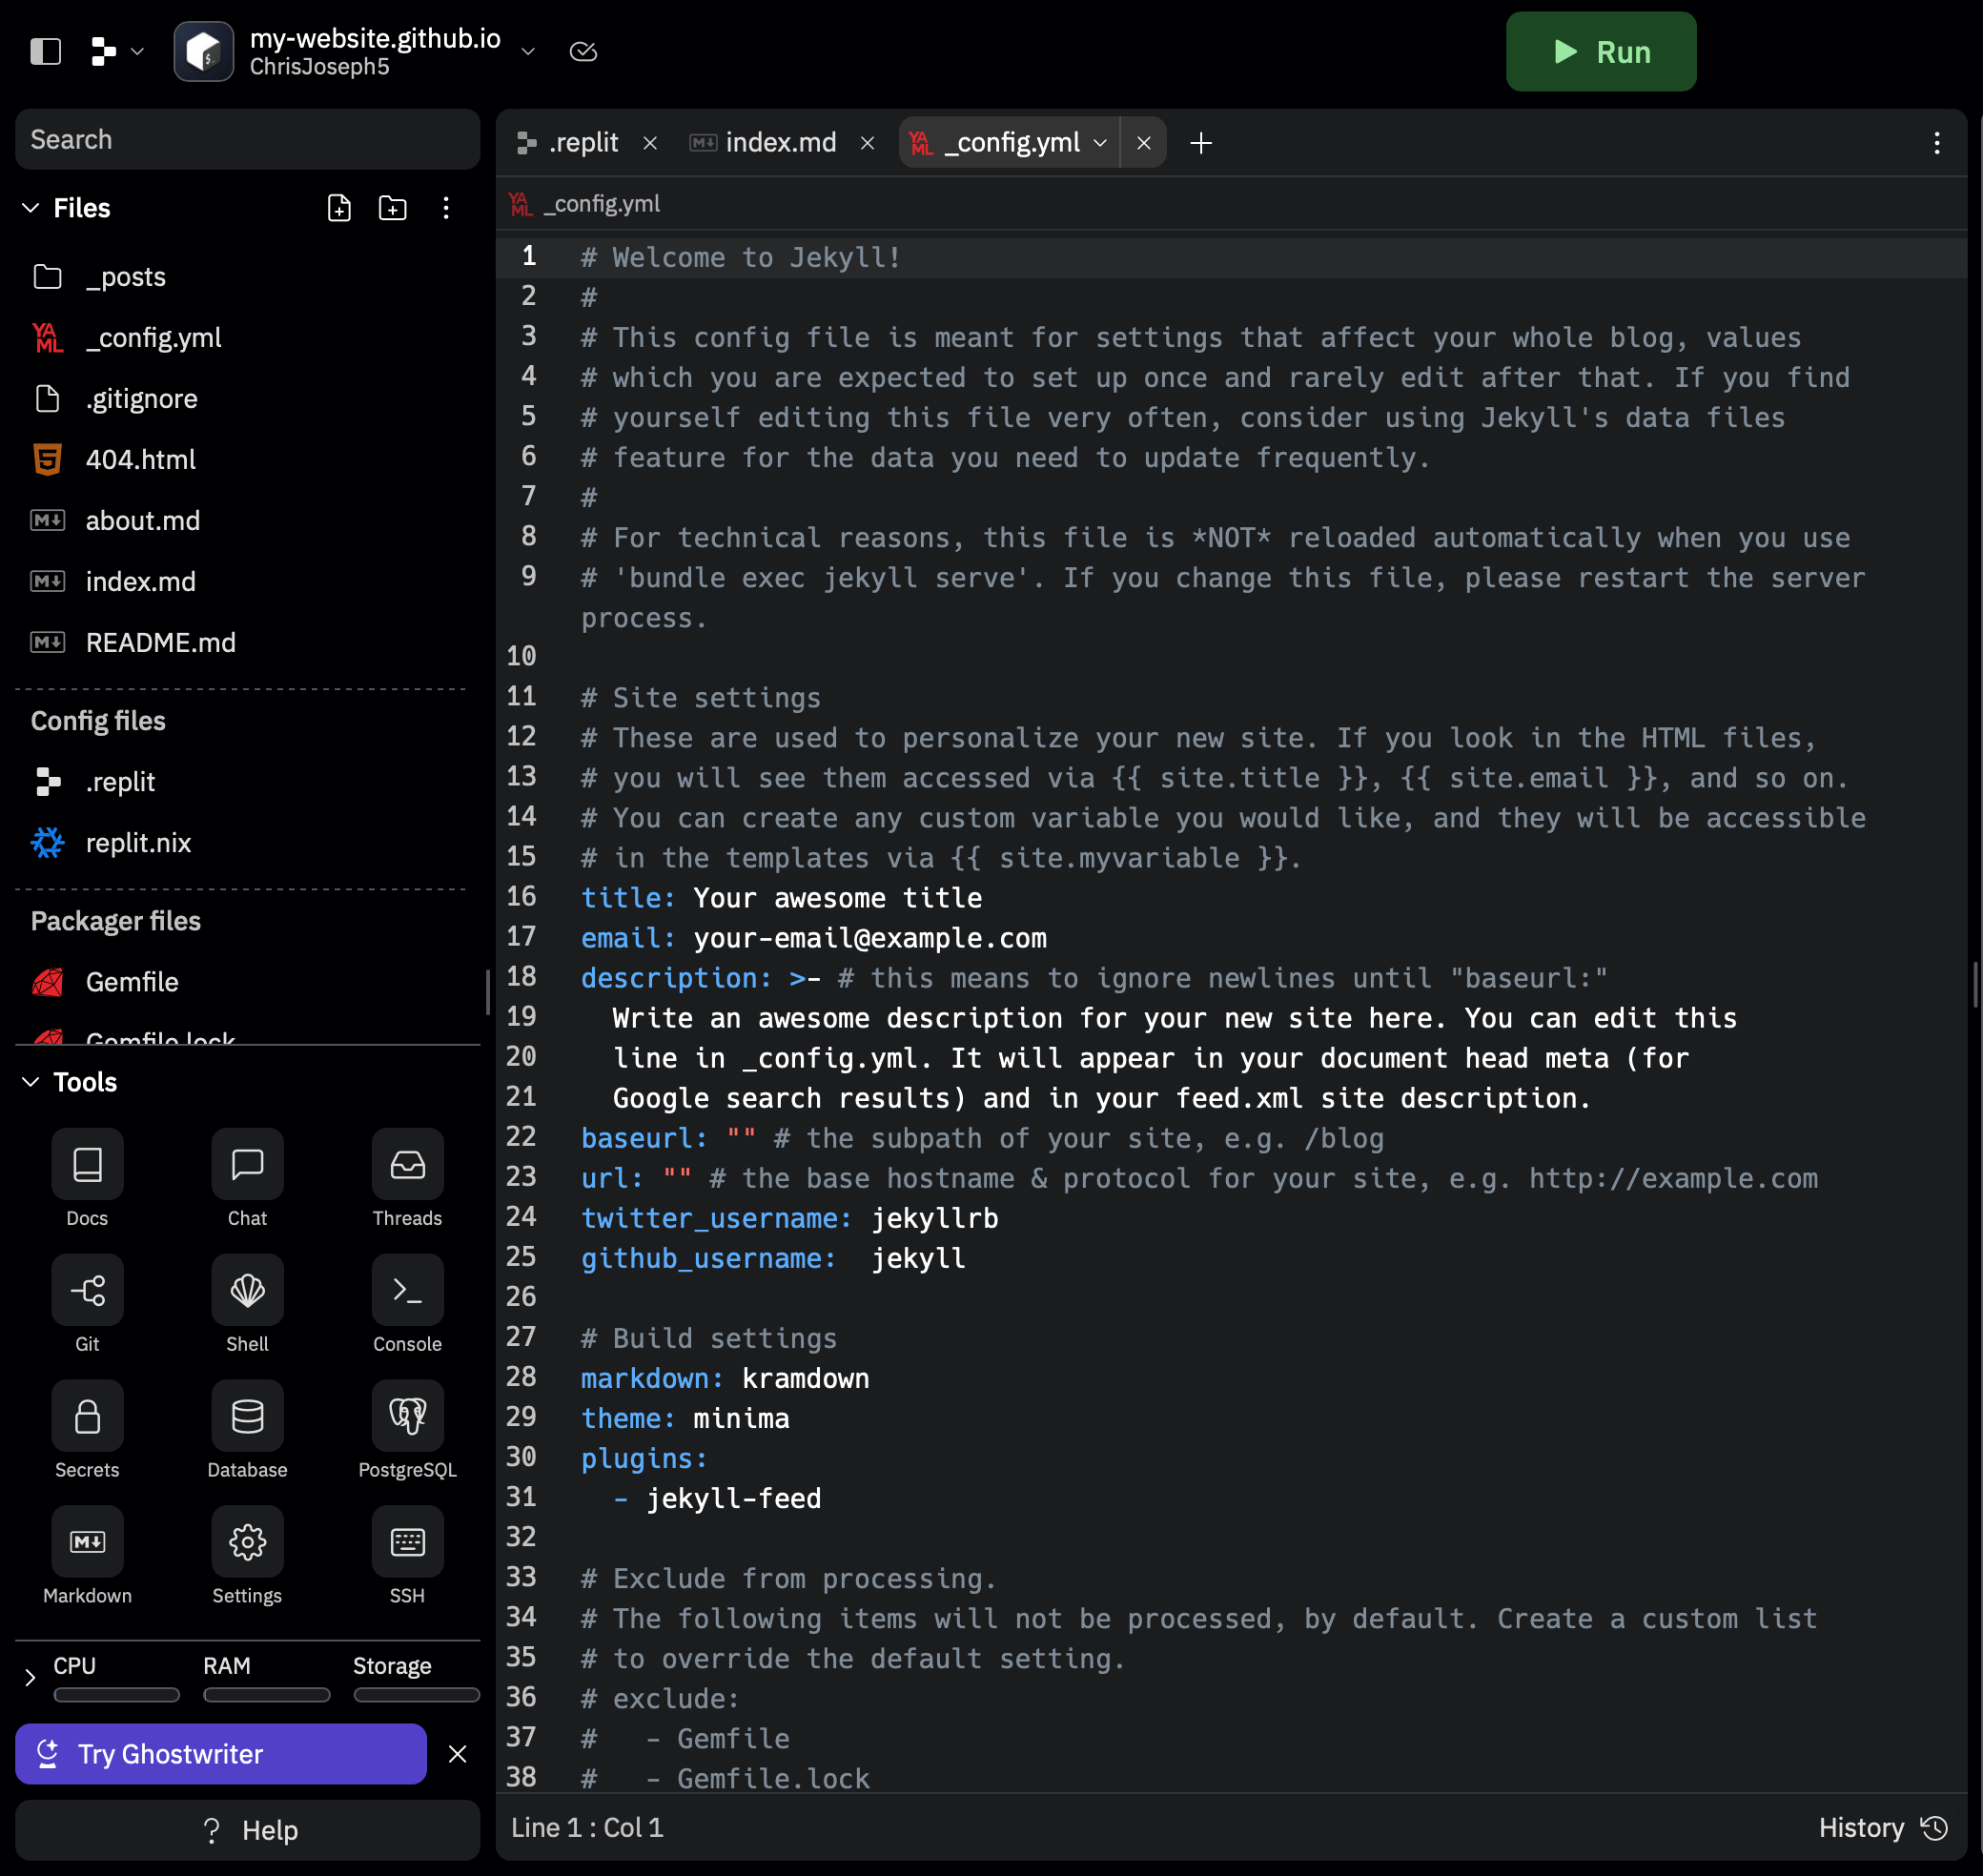
Once you create your Repl and Github Repo, open your Repl in Replit and you should be greeted with a screen similar to:
![]()
Click on Git in the Tools browser in the bottom left and you should see your linked Github Repositroy. If not link or create your Github repo right from the menu in Repl.
A Repl, is many things. At its core, it’s a Docker container running inside of a Virtual-Machine. That is to say… it’s an environment hosted on a web-server that enables its user to write and run code. It useful for much more than simply building a website, but that is certainly one use-case for it.
Step Two: Configuring your environment in Repl, installing Jenkins
You don’t necessarily need to know what a Docker container or Virtual Machine is, all you need to know is that Repl is a self-contained environment that behaves very similarly to the operating system on your computer.
Since a Repl contains an operating system, we need to install various tools in order to run our code and build our website. In this tutorial I will be using Jekyll.
Jekyll is a tool for generating websites, particularly blogs such as this one from Markdown, HTML, CSS and other easy to edit files. There are many themes available from a variety of sources and Jekyll itself is well integrated with Github Pages.
Now you may have noticed two files in your Repl, the .replit and the replit.nix. This is how we configure our Repl. First we need to properly configure our environment. Which is to install Ruby and Jekyll. For Ruby, I’ve had the most success editing the replit.nix file. So open it up and replace it’s current contents with:
{ pkgs }: {
    deps = [
        pkgs.ruby_2_7
    ];
}
Then install Jekyll by opening up Console or Shell and typing:
>gem install bundler jekyll
After which well use Jekyll to generate our website. We do this with the following command:
>jekyll new my-website
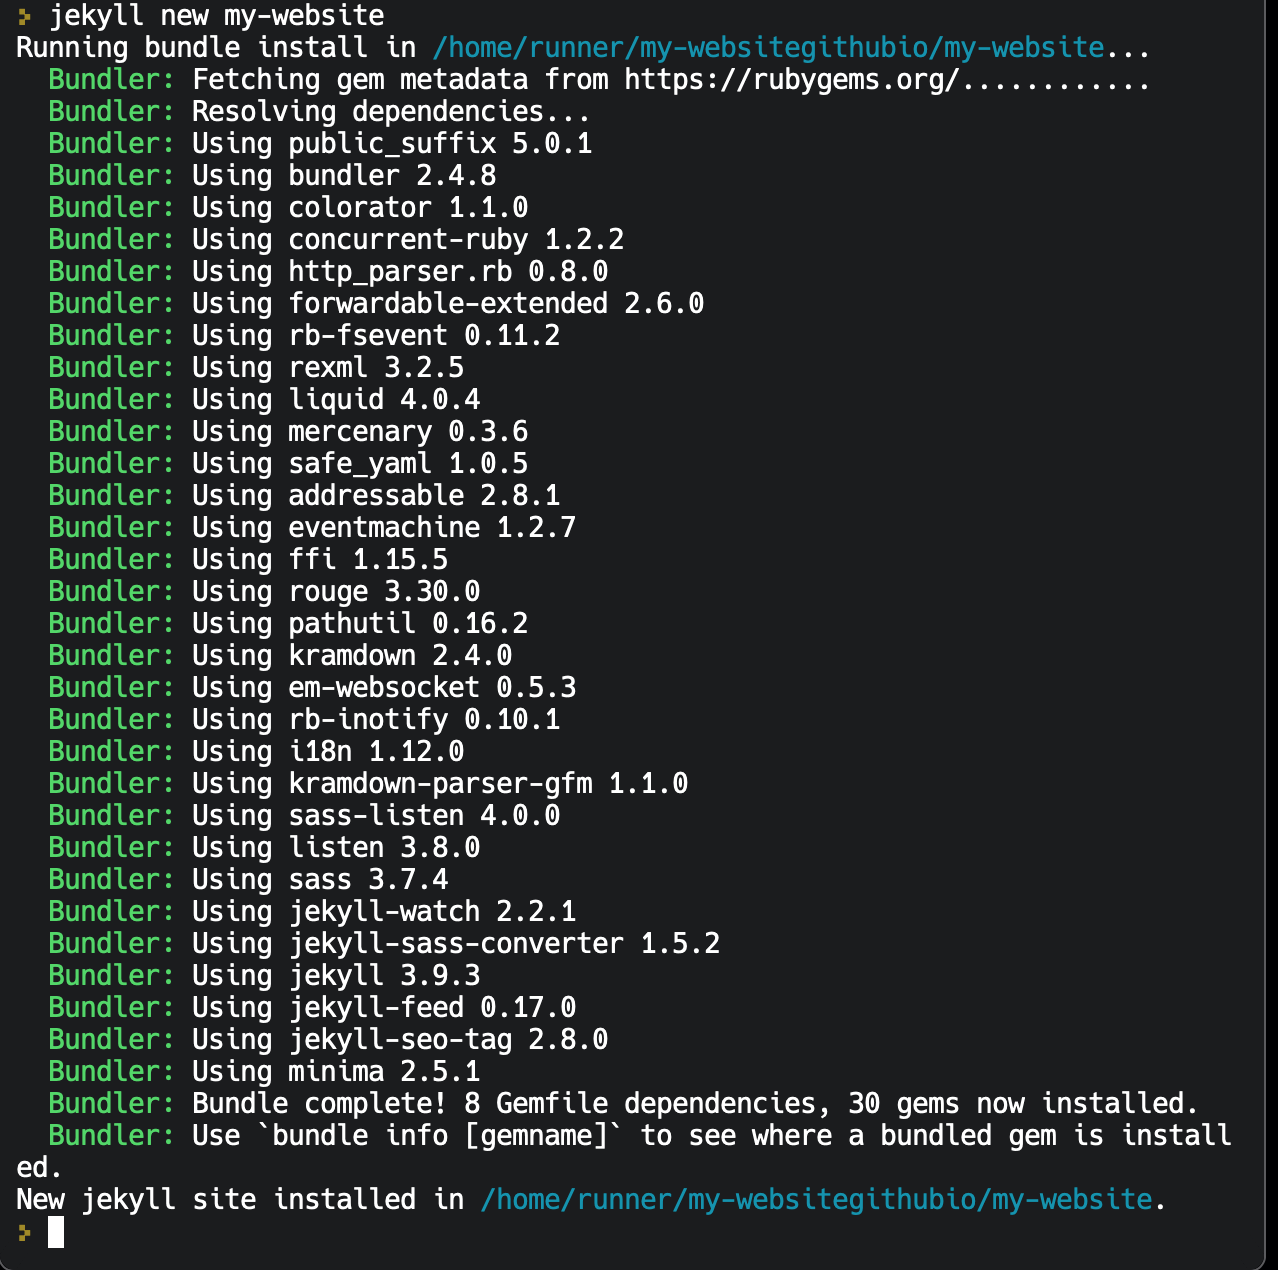
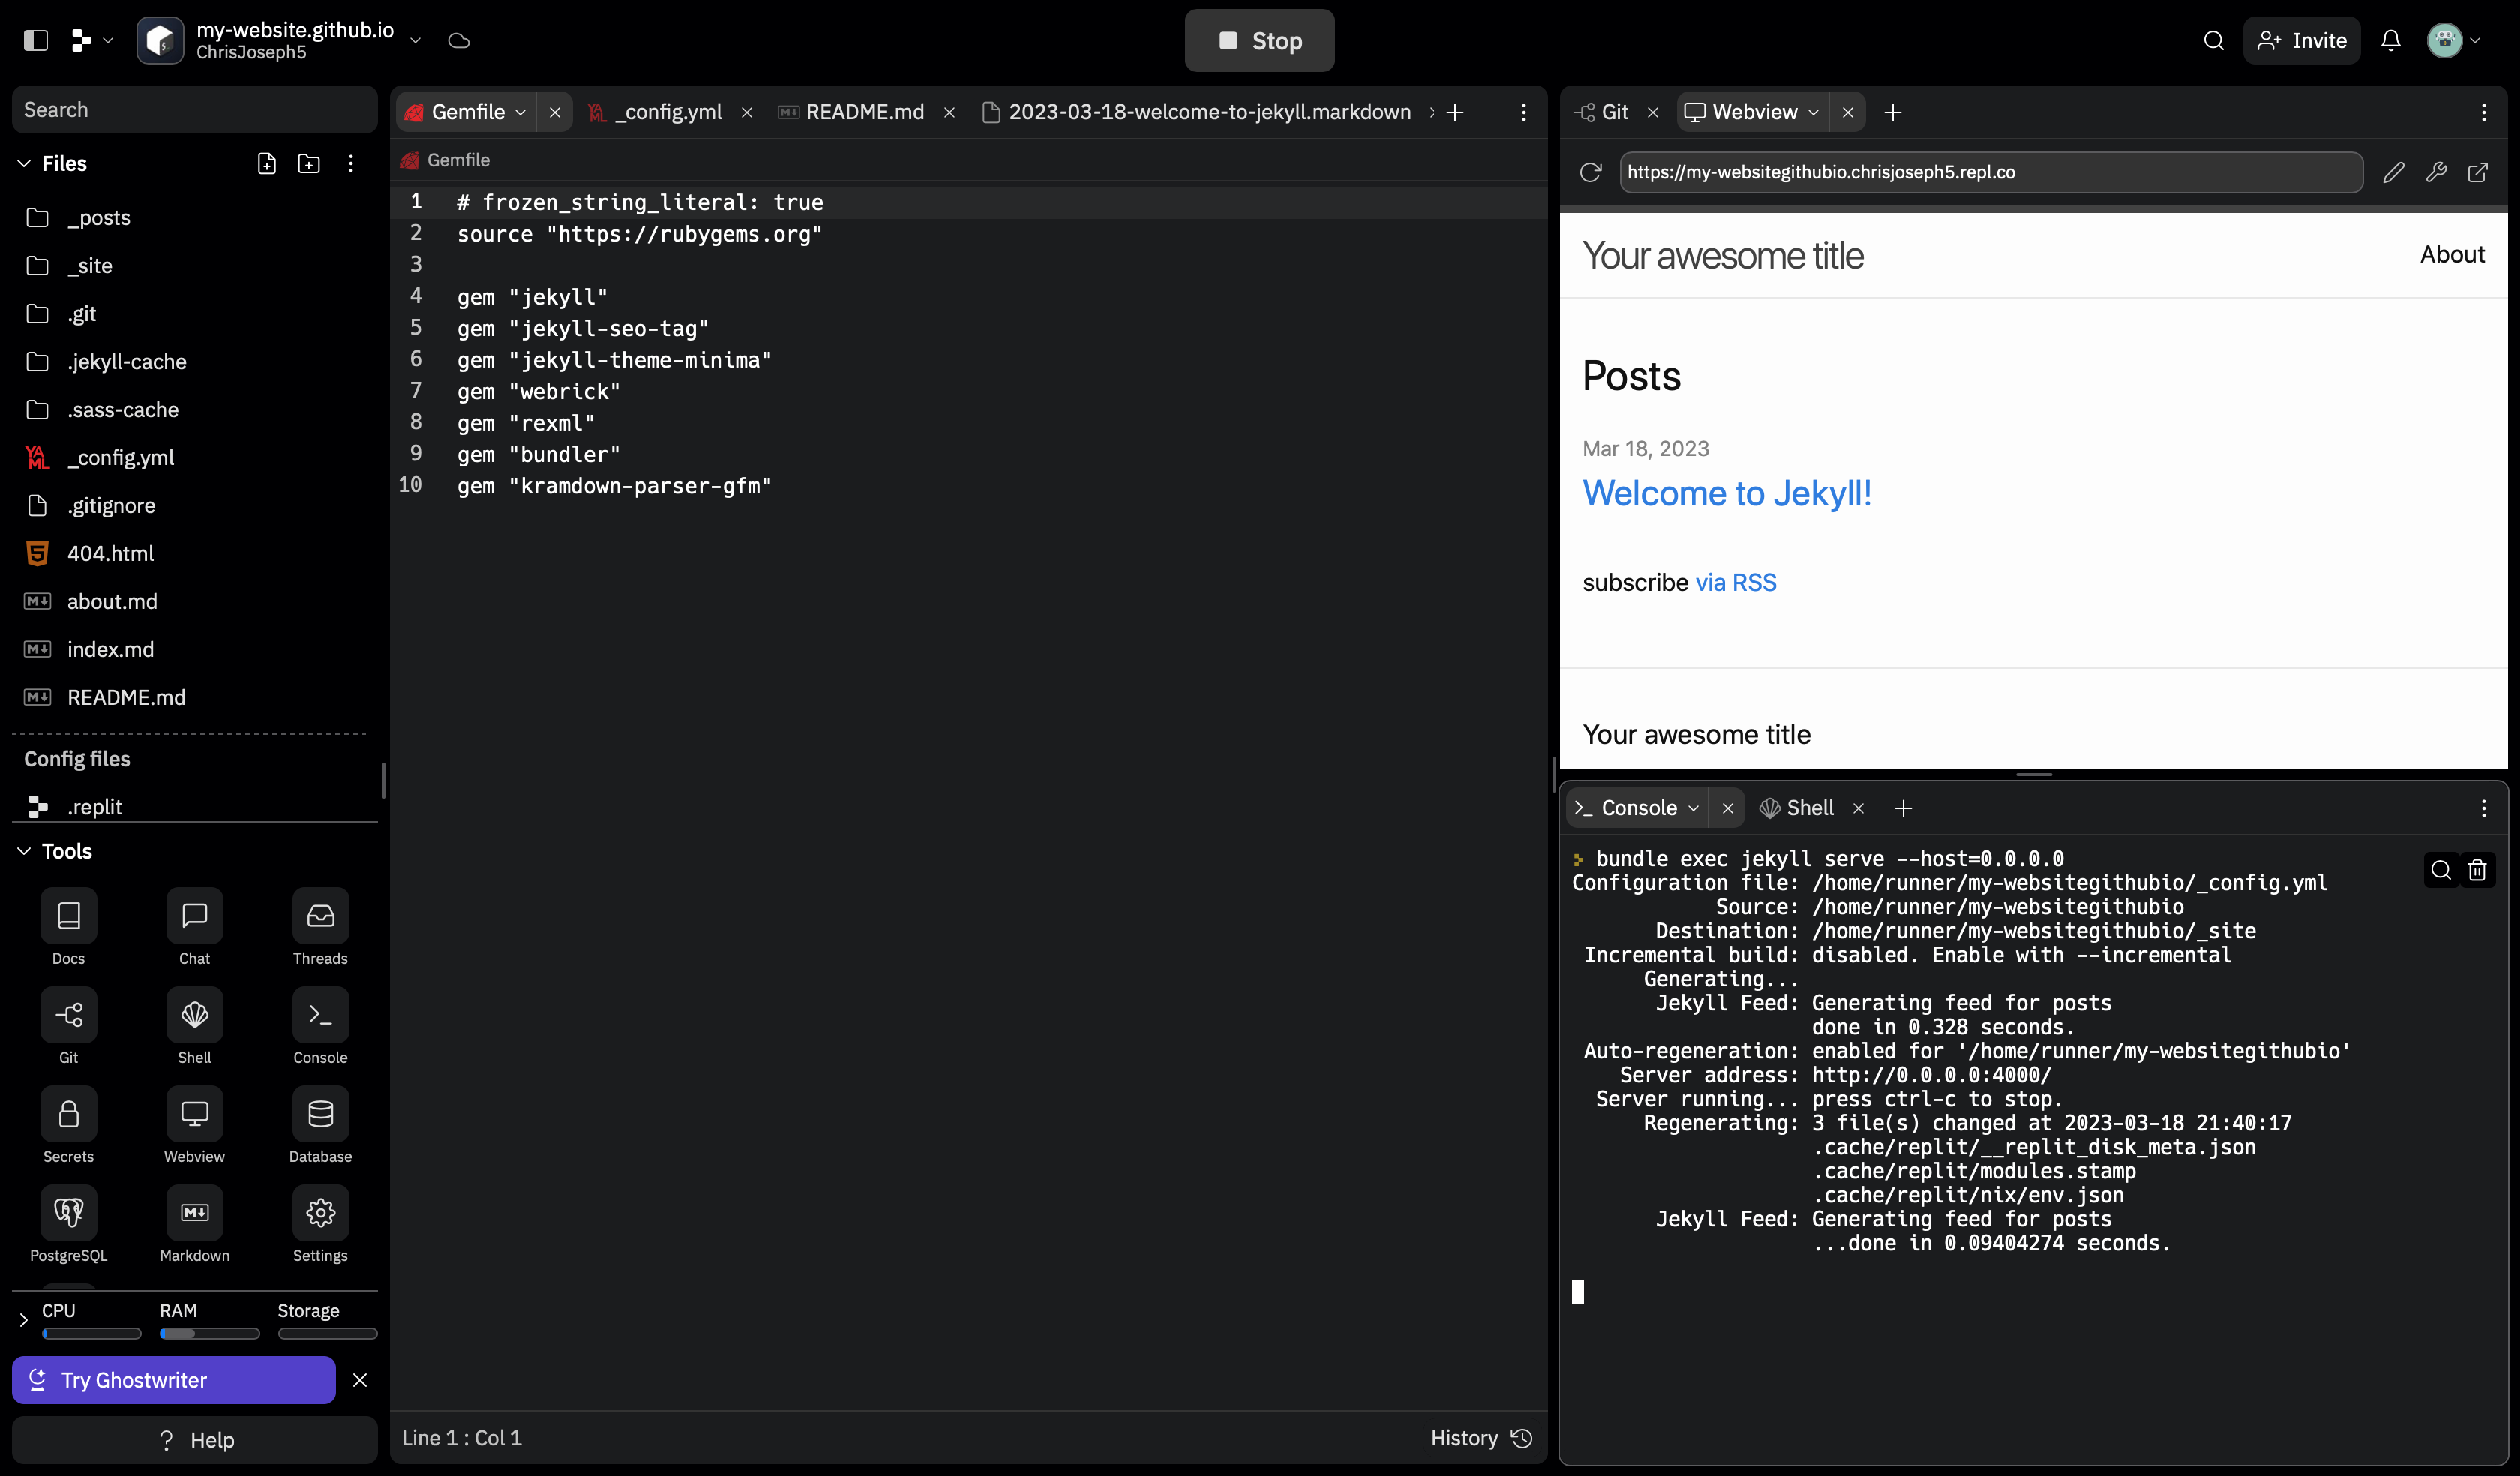
This will generate a directory in your Repl called, /my-website/. The basic barebones of a website. Of course all the files are generated in the directory /my-website/, and for Github hosting purposes we need them in the root directory. So drag all the generated files out of /my-website/ and into the root of your Repl and delete the directory.
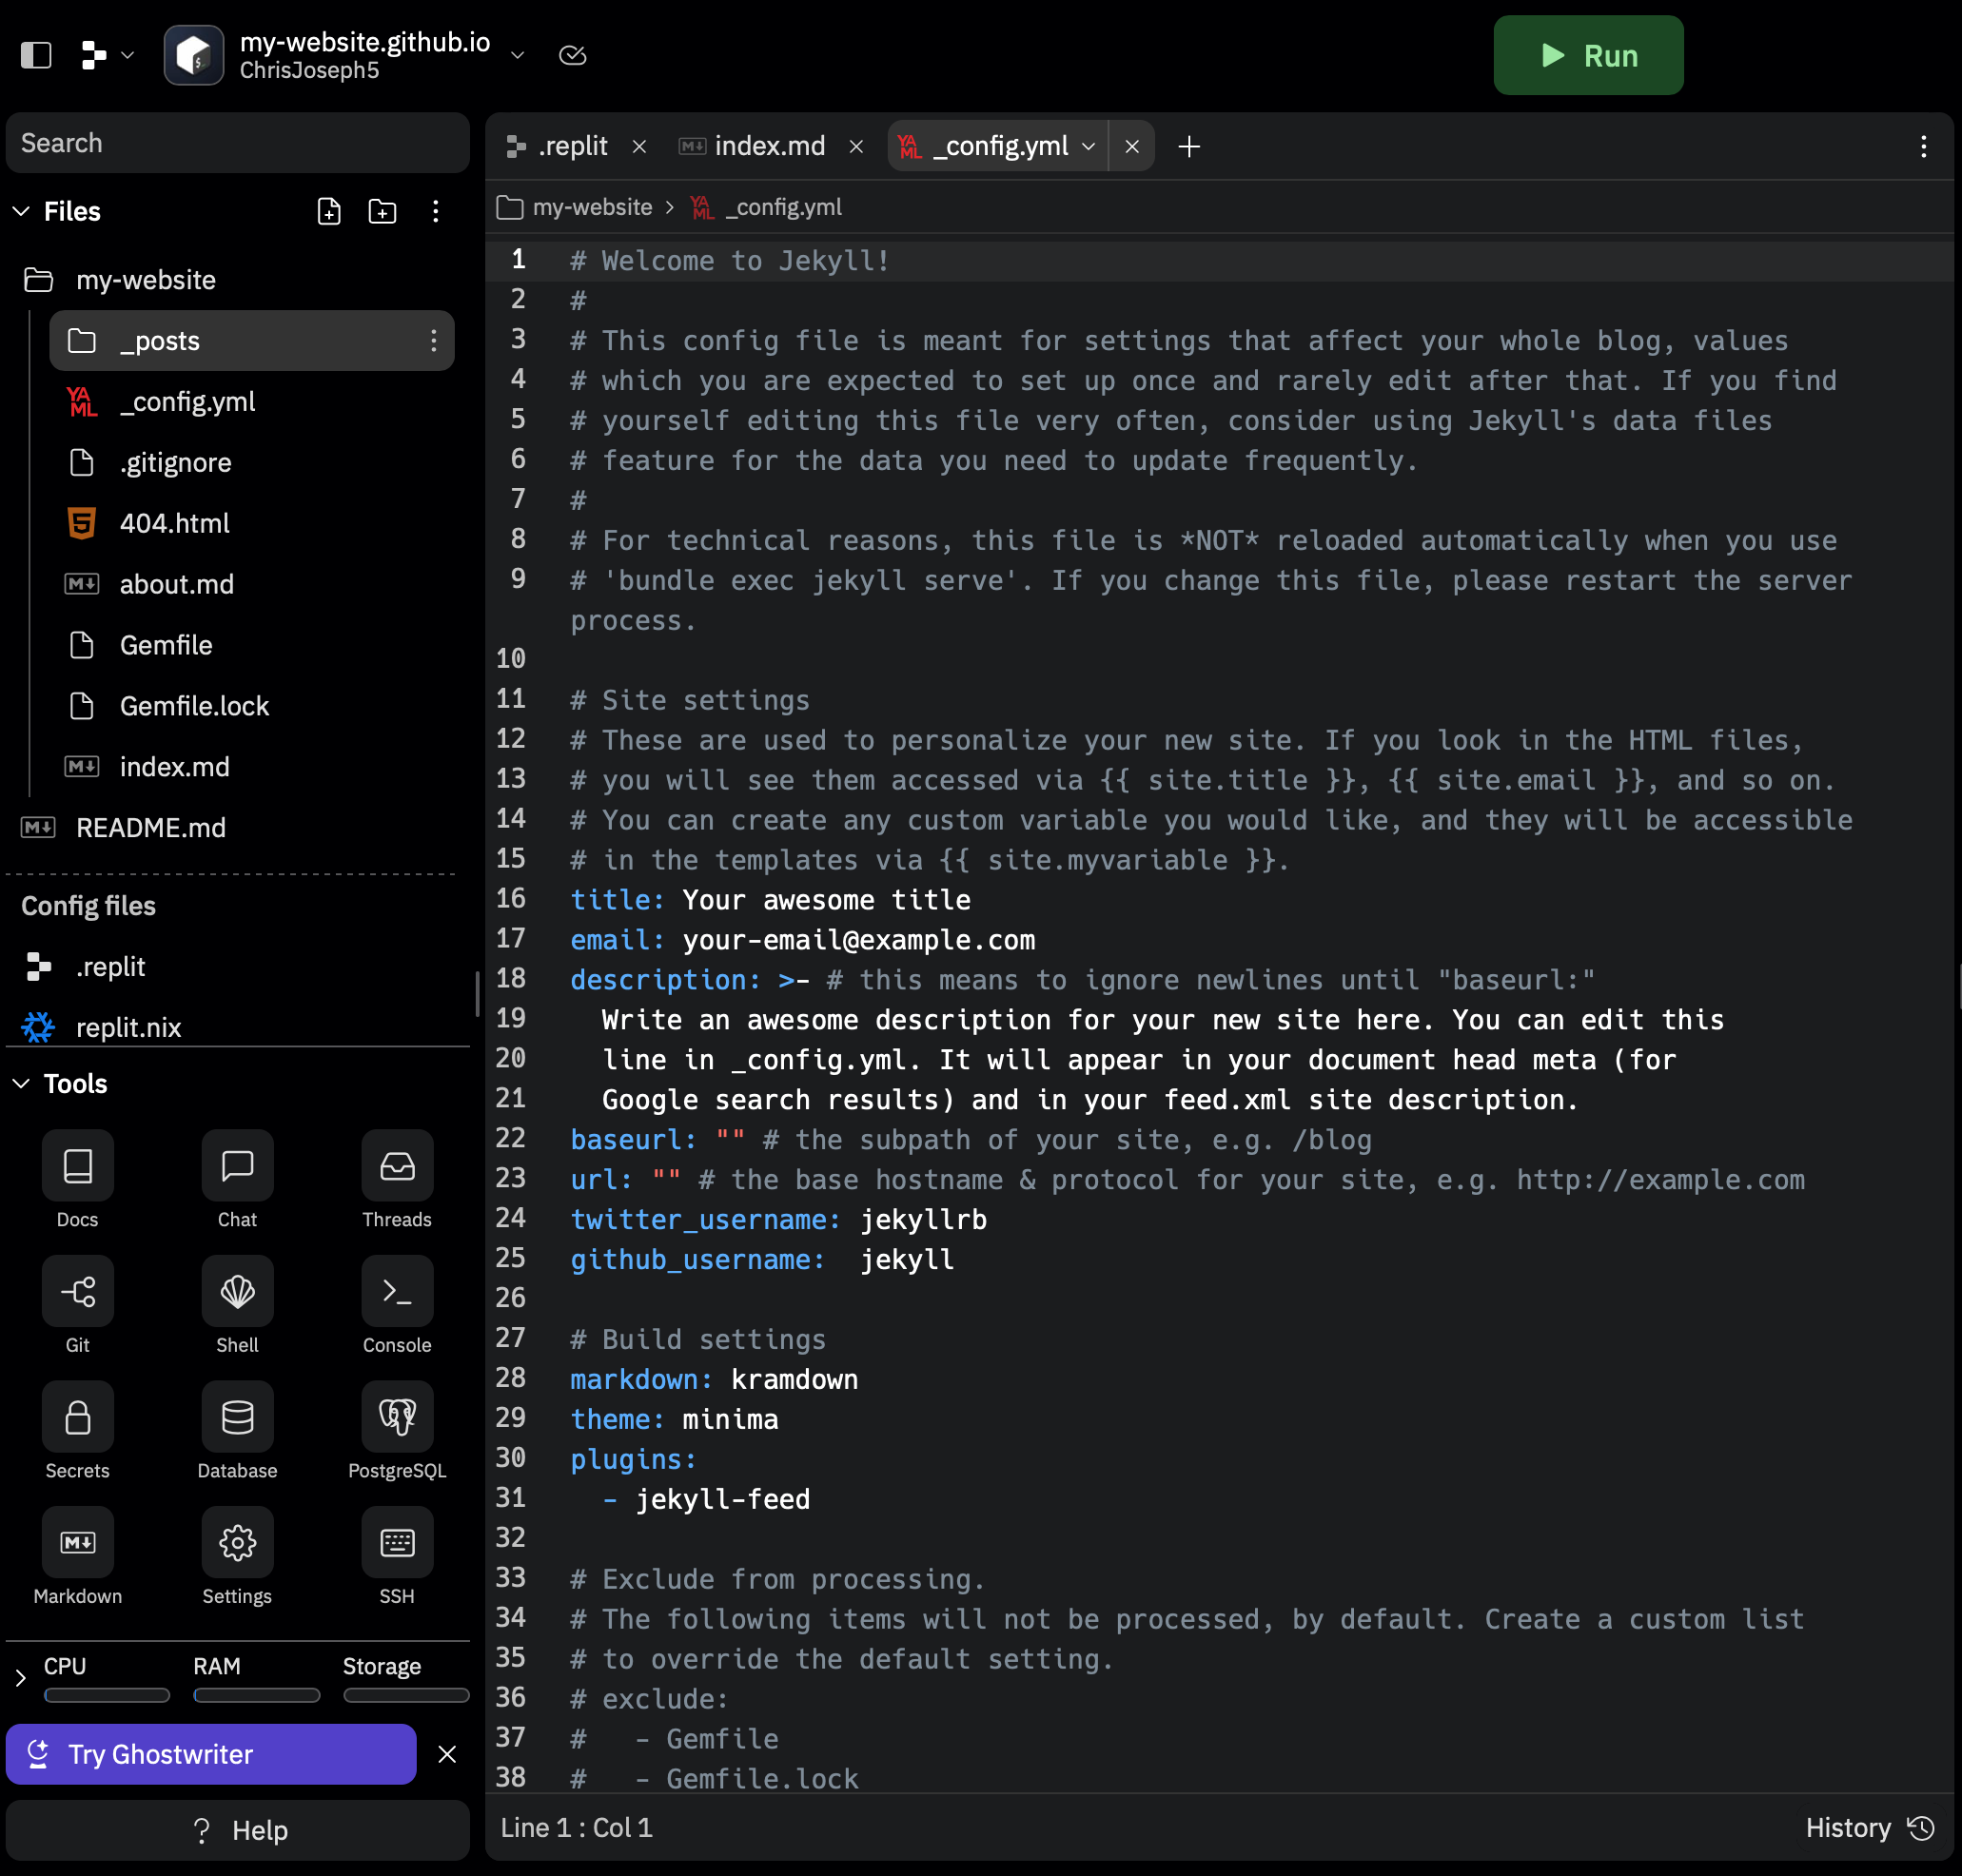
For example, the photo above is how the files are generated. The photo below is how the directory should look for Github Pages hosting.
Now in doing these you will have copied to Gemfiles, a Gemfile and a Gemfile.lock. These files manage our Ruby Gem packages. You’ll want to delete the Gemfile.lock (don’t worry another will be automatically generated), and open Gemfile and replace the contents with:
# frozen_string_literal: true
source "https://rubygems.org"

gem "jekyll"
gem "jekyll-seo-tag"
gem "webrick"
gem "rexml"
gem "bundler"
gem "kramdown-parser-gfm"
These are the required Gems I’ve discovered for Jenkins. Install these Gems by running the following command:
>bundle install
Now all that’s needed to see your website in action is run the following command.
>bundle exec jekyll serve --host=0.0.0.0
This will generate your website using jekyll. However were not going to do that, instead we will edit our .replit file so that the Run button runs that’s command.
You may have noticed two files are listed in the sidebar. That is your .replit and replit.nix files. Your .replit file is where we configure the Run button of our Repl. For that we are going to open up our .replit file and replace the default, which for me was:
run = "cowsay Configure me!"

[nix]
channel = "stable-22_11"
With the following contents:
language = "ruby"
run = "bundle exec jekyll serve --host=0.0.0.0"
Now click the Run button and Jekyll will generate our Website from this template and host it on port 0.0.0.0, the port required for our repl.co hosting.
And you’re finished! Edit the Jekyll template and files and watch your changes affect your repl.co.
When you’re ready to publish to your <username>.github.io domain, then simply push your code to your main branch in the matching Github repo for your replit.
And that’s how you create a website in a browser tab for free!